DIY dual-monitor stand (for twin LCDs)
(click to zoom+drag)
Ever since I got this pair of LCDs last year, I had envisioned them on a single pole of display-mounted unison. But a monitor stand can cost more than a monitor itself, since it tends to have articulating, adjustable parts.
I couldn't find anything basic cheap for dual-monitors, so here's how I went about making one myself. I love the results.
It cost me about $15 USD since I had most materials on hand, and it took less time to conceive and make than it did to document.
Materials
- 3/4" I.D. (7/8" O.D.) galvanized steel pipe (roughly 4 foot); I didn't want to buy a long nipple as this also threads nicely into a...
- 3/4" floor flange - $3
- felt furniture feet for floor flange
- 2" PVC pipe for holding cables - $6 for 10'
- angled aluminum channel for joining pieces
- rivets
- machine screws & nuts
- wood, wood screws
- 4mm diameter(?) screws - ~$3 for 8 screws
Mockup
I consulted with Mike (hey Mike fix y'r site) and arrived at this simple design. I initially wanted it mounted to the desk but could not avoid that there would be too much stress on it. It's made of particle board, not wood.

As this crude blueprint with inch units shows, it is almost freestanding. It has support from the desk to avoid leaning over in any direction.
I can move the desk around and the monitors follow, something I couldn't do if they were alternatively wall-mounted.
Implementation
Here are the primary parts. I had test-assembled everything once, and then made some holes bigger to fix imperfect drilling.

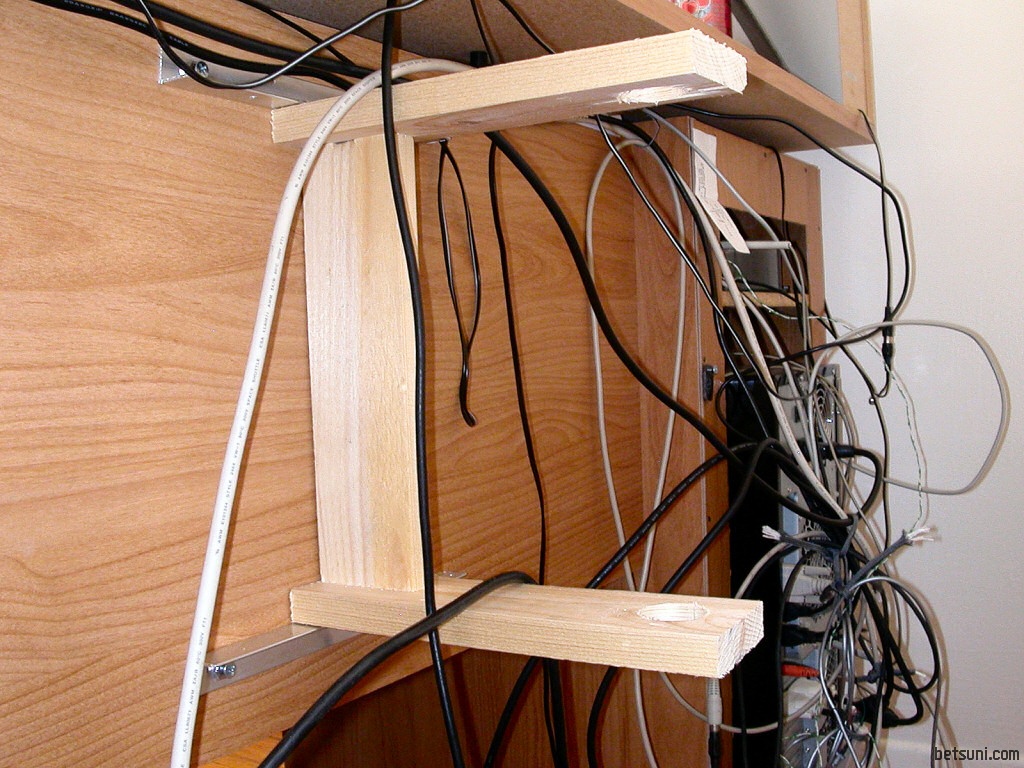
All that would be visible in use is the PVC pipe, so that's all I painted.

The metal pipe should be long enough such that the final assembly should yield the screen top areas of the monitors being at eye level, since there vertical tilting is not allowed.
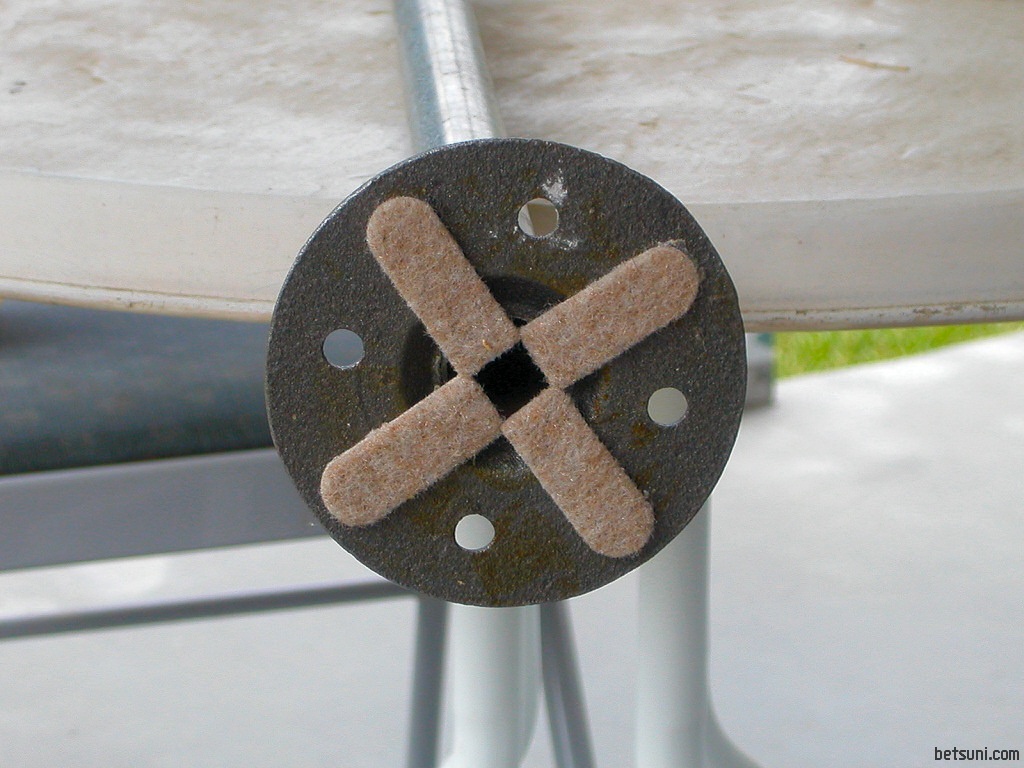
Felt feet on the flange prevents scratches to hardwood floor.

I cheated a bit here. Instead of using 90‹ L-channel aluminum as originally planned, I happened to have the perfect extrusion profile from one side of a broken picture frame. Its 'h' shape fits snug and parallel to the pipe.
A minor problem: I could only rivet the outer edges due to the riveting tool's head being too big, after hacking away some material from the corners.
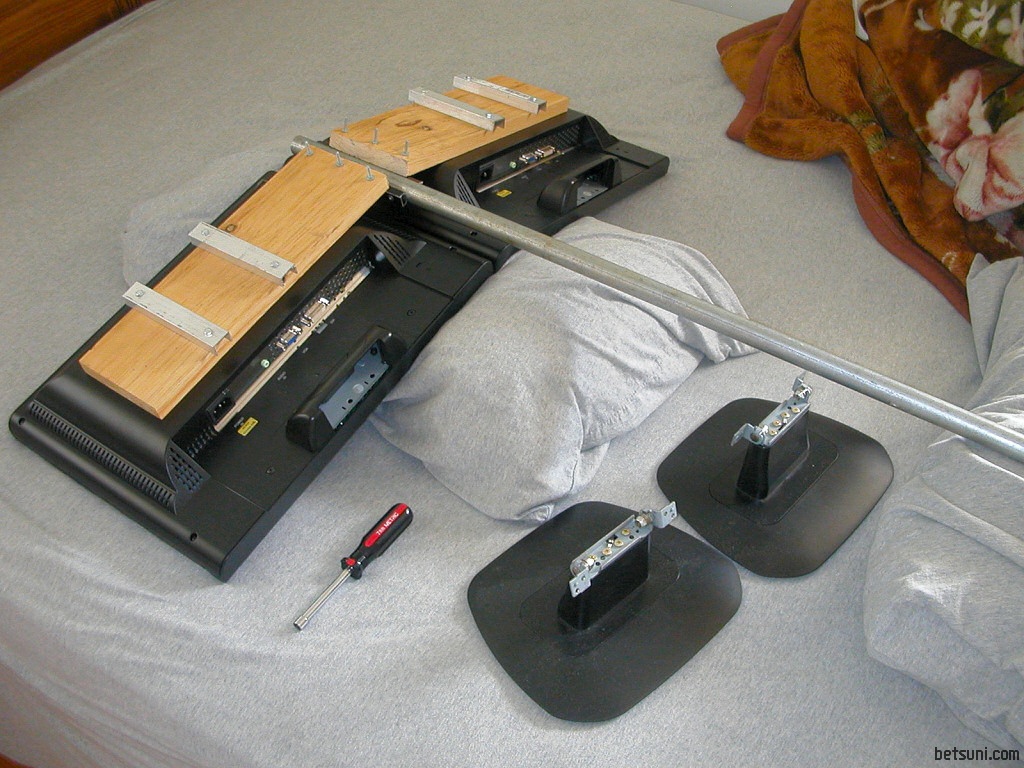
Removing the original monitor feet went smoother than I thought, but takes a time. I'm just glad I didn't crack any plastic or kill any pixels.
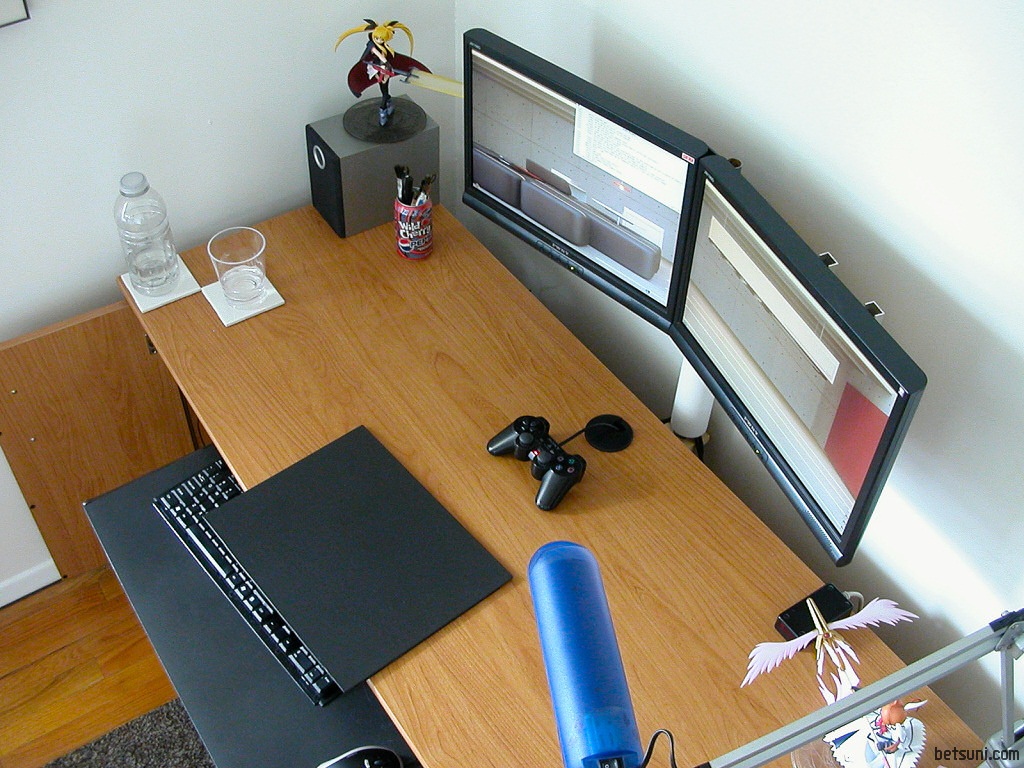
All the thing can do is swivel a bit.

I keep a black plastic strip hanging behind where the displays meet, as a visual joiner to fill in the gap between the monitor edges (particularly noticeable with lamp light leaking through from behind). This is a very important detail.
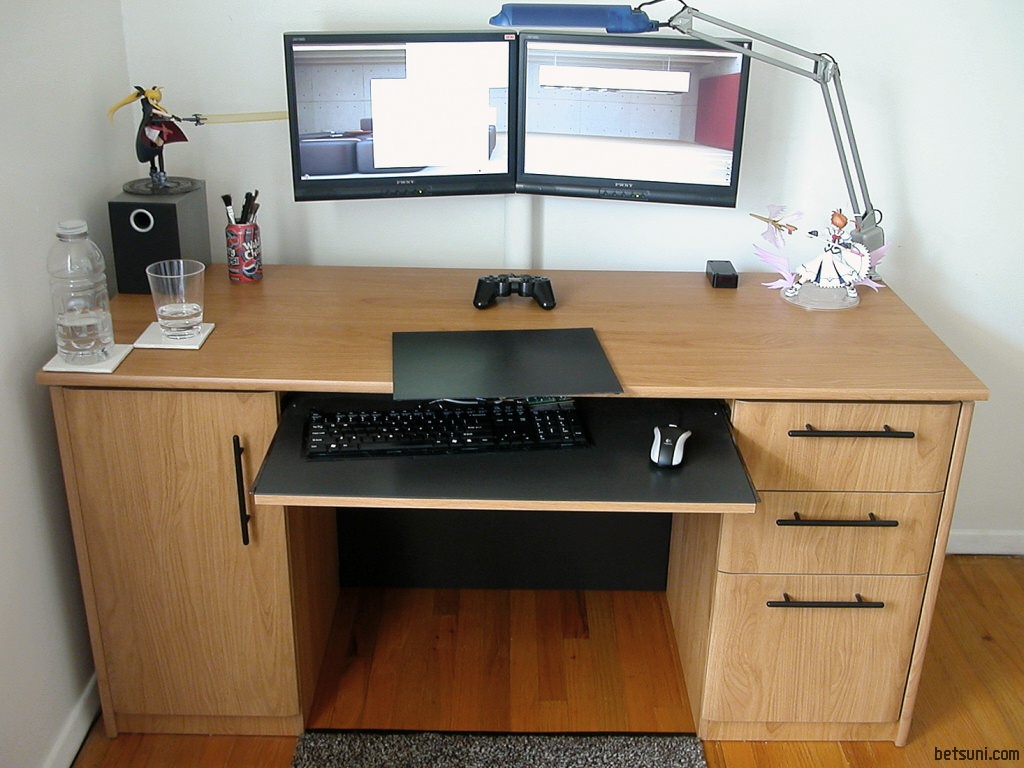
A perfect front view... enhanced by a nice-looking PC, yes ^^; ?
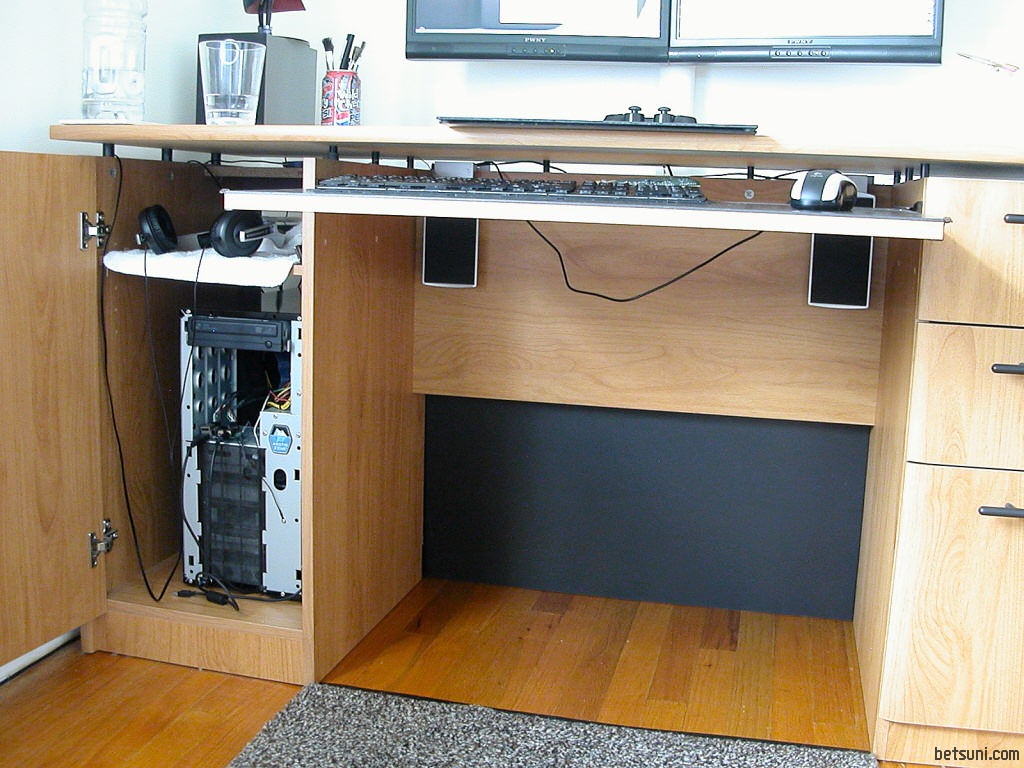
It helps that I moved my cheap tweeters underneath the desk because they look out of place otherwise. Then again my desk now looks even more empty orz, like when it was without a PC for its first year.
Notes
Since the unit is solid, no adjustments are allowed. If you are considering making one, you should figure out the proper angle between the monitors from your intended sitting position. Pivot your neck and angle the displays such that they are perpendicular to your vision.
I slightly messed up by eyeballing the angle rather than doing the proper maths; since the monitors ended up about half a foot farther away than they were originally situated on the desk, the angle between them should be closer to 180‹.
08:42 PM | 3 Comments